
Meta Ads Tracking: Combining Rules Guide
Set up Pixel & Conversions API, combine AND/OR custom conversion rules, and use value rules and AI to boost tracking accuracy and ROAS.
Want better ad tracking? Meta Ads lets you go beyond basic conversion tracking by creating custom rules to focus on high-value actions like purchases over $50 or fast checkouts. Even better, you can combine these rules using AND/OR logic for deeper insights into customer behavior.
Here’s what you’ll learn:
How custom conversion rules differ from standard tracking.
Why combining rules improves campaign performance.
Steps to set up real-time conversion tracking with Meta Pixel and Conversions API.
Advanced tips like value rules and bid adjustments for better ROAS.
Example: Track users who view a product and add it to their cart and start checkout. Or, focus on purchases or subscriptions in the same session. These combinations reveal which ads drive the most valuable actions, helping you optimize smarter.
Ready to refine your campaigns? Let’s dive in.
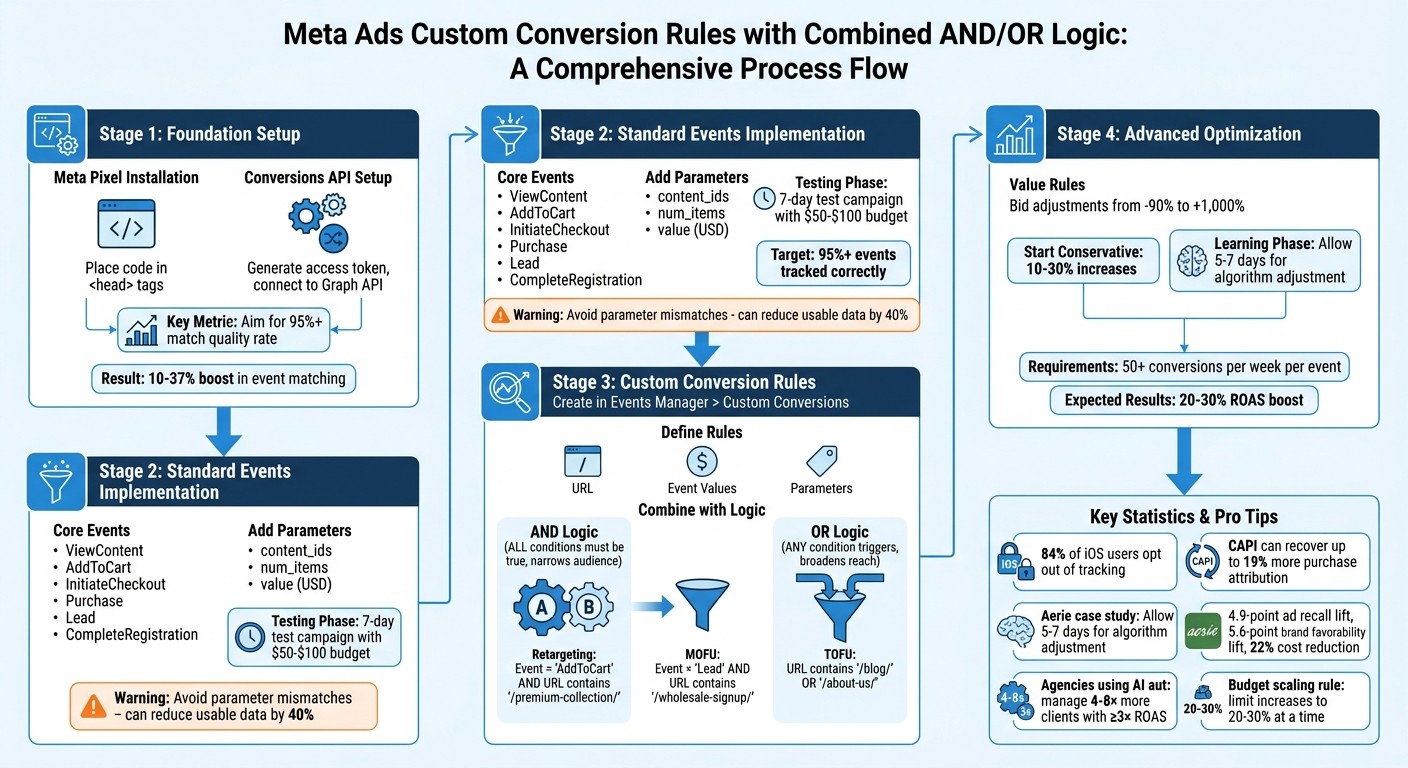
Meta Ads Custom Conversion Rules Setup Process: From Pixel Installation to Advanced Optimization
Track Events & Custom Conversions with Meta Pixel
Prerequisites for Combining Rules
To successfully layer multiple custom conversion rules, you need a strong tracking setup. This ensures accurate data collection, which is critical for effective rule combinations. The two essential components for this setup are the Meta Pixel and Conversions API, along with standard events and individual custom conversions as your foundational elements.
Installing Meta Pixel and Conversions API
Start by creating a Meta Pixel in Events Manager. Navigate through Business Manager > Connect Data Sources > Web > Meta Pixel. Once created, copy the base code and place it between the <head> tags on every page of your website. Then, add event codes for standard actions like 'Purchase' or 'AddToCart' using the Event Setup Tool or by manually adding parameters such as currency ("USD") and value (e.g., 29.99).
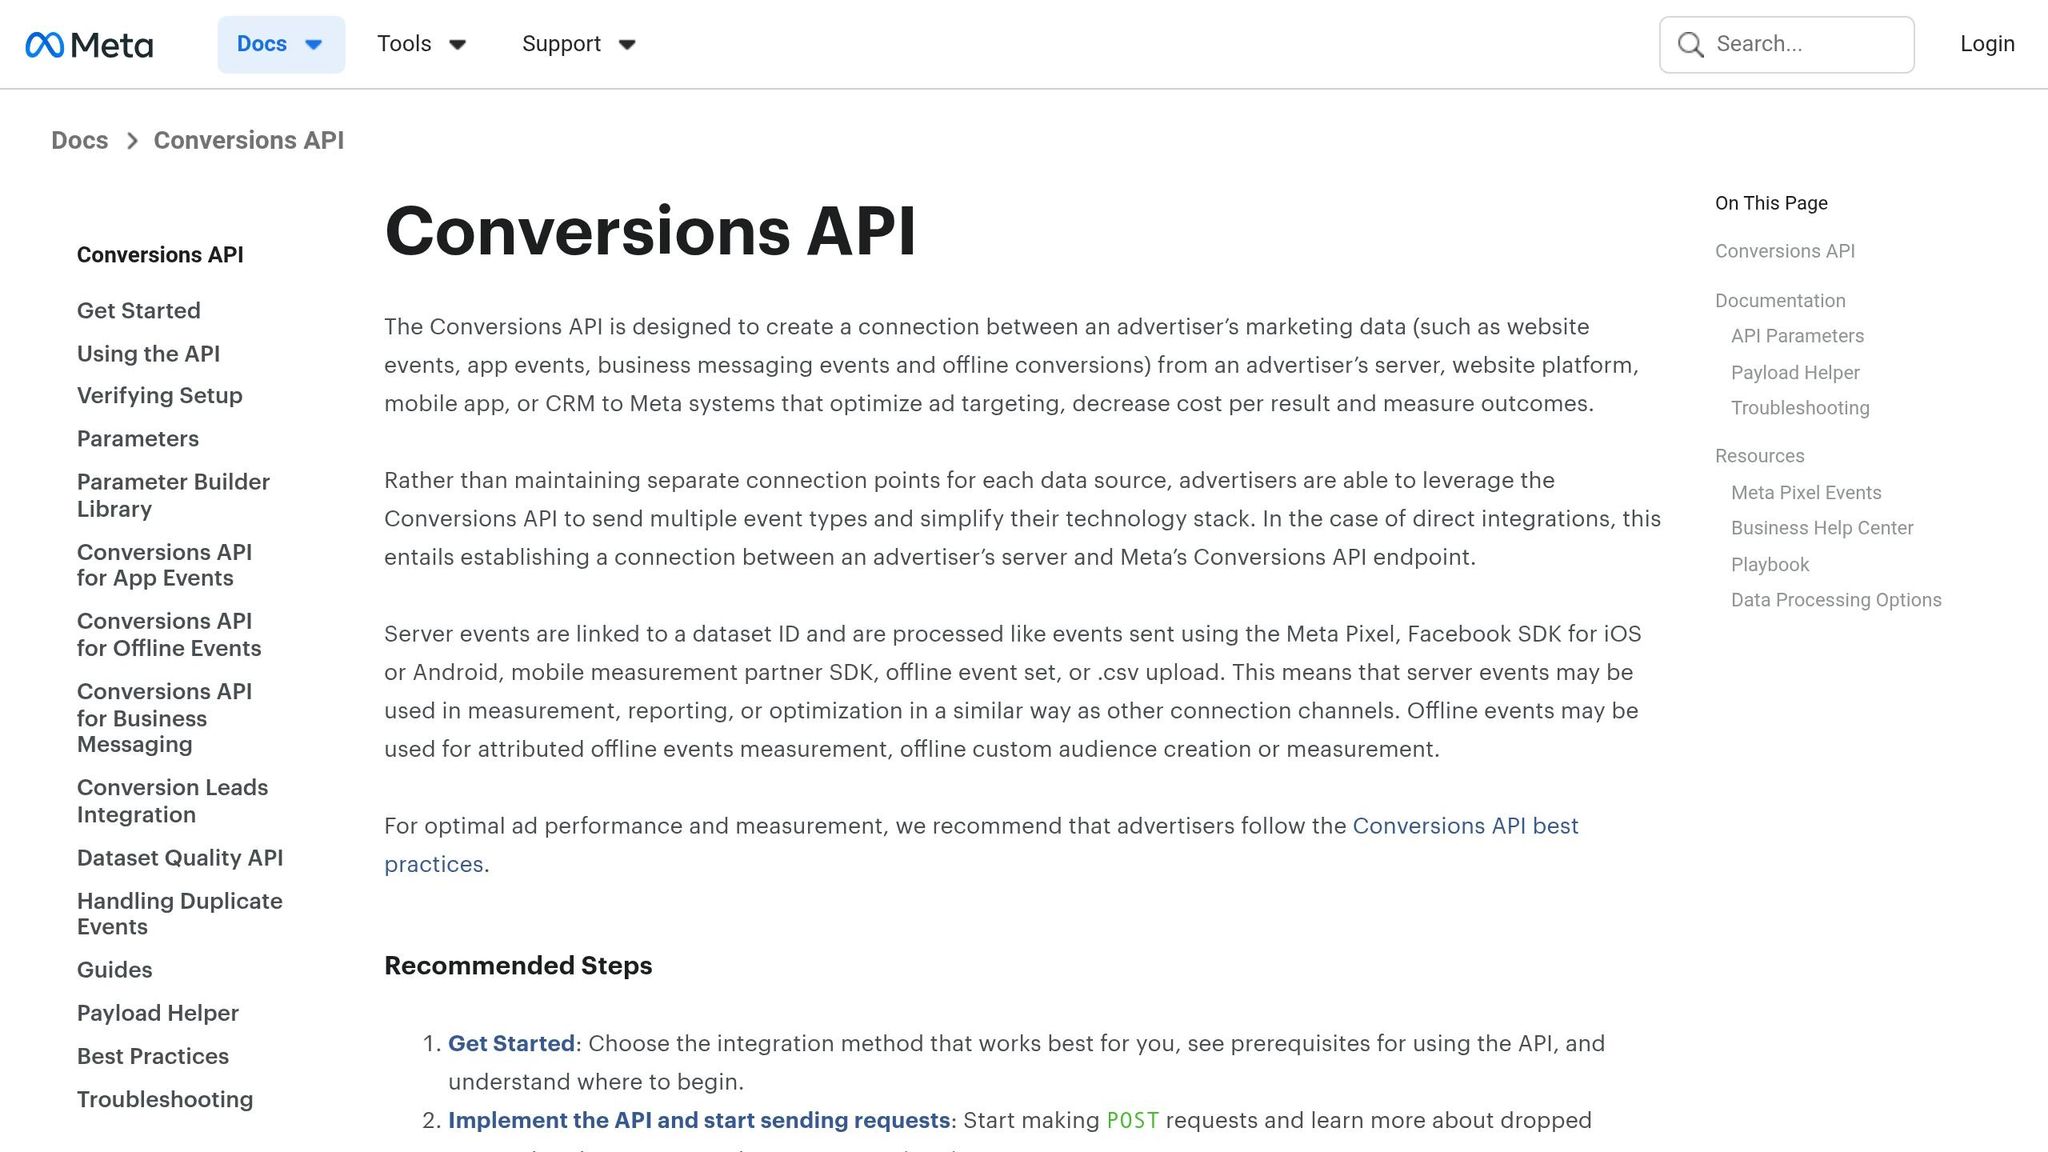
The Conversions API (CAPI) works alongside the Pixel to enhance tracking reliability, especially after iOS privacy changes like iOS 14+. To set it up, go to Events Manager, access Settings > Conversions API, and generate an access token. Use this token to send server-side events to your Graph API endpoint. Alternatively, you can integrate tools like GTM Server or Zapier. Aim for a match quality rate of 95% or higher using the Diagnostics tool to ensure your combined rules function with precise data.
To avoid duplicate event counts, use matching event_id parameters for both Pixel and CAPI events. Be cautious of potential issues like mismatched currency formats, unverified domains, or firewall restrictions. Meta benchmarks recommend starting with an 8–10% event match quality and scaling to 20% or more with proper adjustments. Campaigns using CAPI often see a 10–37% boost in event matching, which directly improves the performance of combined rules.
Once your data collection is reliable, you can move on to setting up standard events and custom conversions.
Setting Up Standard Events and Individual Custom Conversions
Focus on key standard events like ViewContent, AddToCart, InitiateCheckout, Purchase, Lead, and CompleteRegistration. These events align with typical e-commerce and lead generation funnels, acting as the building blocks for your custom conversions. Implement these events with detailed parameters such as product identifiers (content_ids), item quantities (num_items), and values in USD.
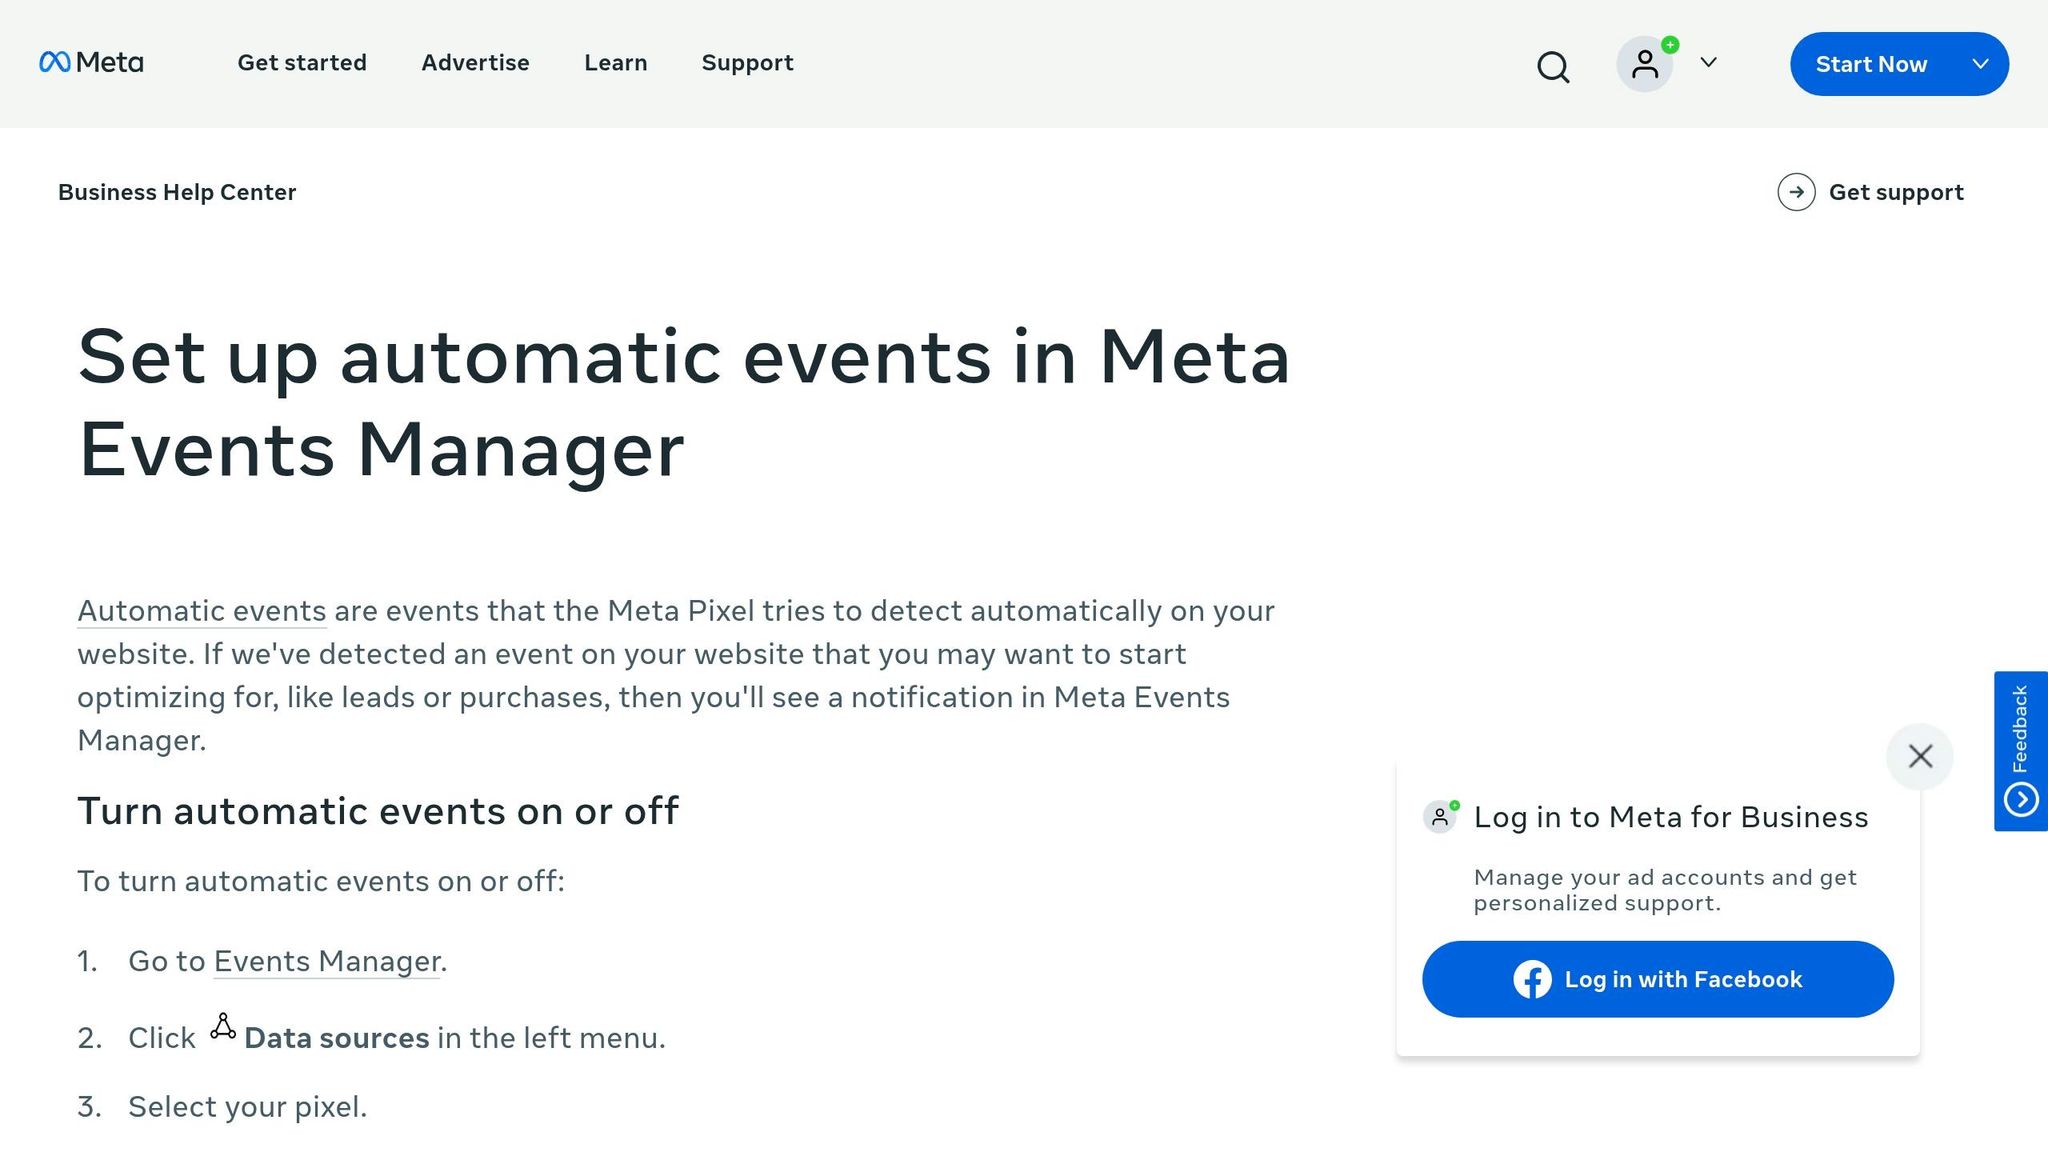
To create custom conversions, go to Data Sources in Events Manager. Select your Pixel, then navigate to Custom Conversions > Create Custom Conversion. Choose a source event, like 'Purchase', and define rules such as a URL containing "/thankyou" or an event value exceeding $50. Assign a category and give it a clear name, like "HighValuePurchase." Test your setup by triggering the event and verifying it in the Test tab. These custom conversions can later be combined using logic like AND for more advanced tracking.
For example:
Create a "TrialSignUp" conversion from a Lead event with a parameter like lead_type="trial."
Set up an "UpsellPurchase" conversion from a Purchase event with a value above $200 and a content_category of "premium."
These granular custom conversions improve attribution and provide better optimization targets. After setting up, run a 7-day test campaign with a $50–$100 budget to ensure at least 95% of events are being tracked correctly. Keep consistent naming conventions - like using "value" in USD decimals (e.g., 99.99) - to avoid parameter mismatches, which can reduce usable data by up to 40%.
With these foundations in place, you’re ready to explore advanced rule combinations in the next section.
How to Combine Rules Using AND/OR Logic
Once you've set up your tracking and custom conversions, you can take things to the next level by combining rules for more advanced tracking. By layering conditions, you can create highly specific custom conversions that give you sharper insights into customer behavior. Meta's Events Manager makes this possible with AND and OR logic, letting you decide how conditions interact. Here's the key difference: AND logic requires all conditions to be true, narrowing your audience, while OR logic triggers when any condition is met, broadening your reach.
Using AND/OR Logic in Events Manager
To get started, head to Events Manager, choose your Pixel, and navigate to Custom Conversions > Create Custom Conversion. From there, select a source event like "Lead" or "Purchase", and then click Add Rule. This will open options for rules based on URLs, domains, or parameters. If you're focusing on parameter-based tracking, select Event Parameters from the dropdown menu. This is particularly useful when tracking specific actions, such as clicks tied to a service using the servicename parameter.
To combine rules, click Add Another Rule and choose between AND and OR logic from the dropdown. Use AND logic when all conditions must be true at the same time. For instance, if you're tracking wholesale leads, you might set the event to "Lead" and require the URL to include "/wholesale-signup/". On the other hand, use OR logic when any condition can trigger the conversion. For example, you might track visits to "/blog/" or "/about-us/" as part of an engagement campaign.
Once you've set up your rules, test them by triggering the event and checking the Test Events tab. This ensures your custom conversion fires only when the specified conditions are met. Testing helps eliminate guesswork and ensures you're capturing the exact actions you need.
Common Rule Combination Examples
Different stages of a full-funnel Meta Ads setup call for different logic combinations. At the top of the funnel, OR logic works well to capture broad engagement, like visits to blog posts or informational pages. As you move to the middle of the funnel, AND logic becomes more effective for tracking intent, such as a lead event combined with a specific signup page. For retargeting efforts, you can combine "AddToCart" events with URLs for specific product collections to target users interested in premium items.
Funnel Stage | Goal | Rule Logic Example |
|---|---|---|
TOFU (Top of Funnel) | High Engagement | OR: URL contains "/blog/" OR URL contains "/about-us/" |
MOFU (Middle of Funnel) | Specific Intent | AND: Event is "Lead" AND URL contains "/wholesale-signup/" |
Retargeting | Specific Action | AND: Event is "AddToCart" AND URL contains "/premium-collection/" |
For finer control, parameter-based combinations can be a game-changer. Take music platforms like Feature.fm, for example. They use the servicename parameter (with values such as spotify or apple_music) alongside the "Music Service Click" event to track fan actions on specific streaming platforms. This lets them target campaigns toward users engaging with particular services, improving precision without the need to create separate events for each platform.
Advanced Strategies: Value Rules and Bid Adjustments
Value rules and bid adjustments take advanced rule combinations a step further by aligning your bid strategy with the quality of conversions. Instead of treating all conversions the same, these tools allow you to assign different values to conversions and adjust bids accordingly. Meta's Value Rules are particularly useful for prioritizing audience segments, placements, or actions that have a greater impact on your business. This way, Meta's algorithm can use machine learning for conversion optimization to focus on driving the most valuable actions and allocate your budget more effectively.
Adding Value Rules for Prioritization
Value rules enable you to fine-tune bid adjustments within a single ad set. For instance, if your CRM data shows that one audience segment generates a higher lifetime value compared to another, you can increase bids for that segment while reducing bids for lower-value traffic - all within the same ad set. However, it's important to note that Meta applies only the first matching rule, so you should prioritize your most specific, high-value rules before broader ones. For example, if you're targeting both a high-value city like New York City and a larger region with moderate value, place the city-specific rule at the top to ensure it takes precedence.
Bid adjustments can range from –90% to +1,000%, but it's wise to start conservatively with increases of 10% to 30%. Jumping straight to aggressive adjustments, like 200% or more, can disrupt delivery and lead to inconsistent results.
In 2025, the women's lifestyle brand Aerie used value rules to increase bids in 50 low-awareness markets, achieving impressive results: a 4.9-point lift in ad recall, a 5.6-point lift in brand favorability, and a 22% reduction in cost per ad recall lift compared to standard optimization strategies. This success highlights how aligning bid strategies with conversion value can significantly improve campaign performance.
Hanna Lacke, Senior Manager of Paid Media at Ovative Group, shared, "The value rules feature gave us an effective way to align media delivery with our strategic, regional priorities - maximizing impact in high-value markets without sacrificing efficiency."
Adjusting Bids Based on Combined Rule Performance
Value rules are designed to work exclusively with the "Highest volume or value" bid strategy. They are not compatible with manual bid caps, cost per result goals, or ROAS goals. When layering value rules onto your combined custom conversions, focus on high-value segments. For example, if you've created a custom conversion for a purchase event tied to a premium segment - such as through a specific URL parameter or a high transaction value - you can prioritize bids for this segment.
It’s crucial to allow 5–7 days for the algorithm to adjust during the learning phase. During this time, keep an eye on your Event Match Quality (EMQ) score in Events Manager. A higher EMQ score enhances the accuracy of value-based bidding. Additionally, evaluate your rules against tangible business metrics like average order value (AOV) and repeat purchase rates, rather than relying solely on platform-level CPA data.
Baruch Labunski, CEO of Rank Secure, recommends, "If an audience has been high-value, highly loyal, and high-retention over time, I would be more comfortable increasing my bid, even if the cost of the lead initially seems high."
Another effective tactic is applying up to –90% negative adjustments for segments with low lifetime value or high refund rates. This approach lets you redirect your budget away from less profitable traffic while still allowing the algorithm to prioritize naturally. When executed properly, value-based optimization can boost ROAS by 20% to 30%. However, for this strategy to work, you need to ensure the algorithm is processing at least 50 conversions per week per optimization event.
Optimizing Campaigns with Combined Rules Using AdAmigo.ai

Managing campaigns with multiple custom conversion rules can be overwhelming, especially when juggling value rules and bid adjustments. That’s where AdAmigo.ai comes in. Acting as a 24/7 AI media buyer, it takes the complexity out of manual optimization. By continuously analyzing your combined rules, it identifies opportunities for improvement and makes adjustments automatically, so you don’t have to.
How AdAmigo.ai Streamlines Optimization
Getting started with AdAmigo.ai is quick - it connects to your Meta ad account in just 5 minutes. From there, its AI Ads Agent takes over, fine-tuning campaigns in real time. It evaluates combined conversion rules like "Purchase AND AddToCart" or "ViewContent OR Lead", identifying trends and opportunities to optimize performance.
For instance, imagine you’re running an e-commerce campaign with the rule "AddToCart AND Purchase" to target high-quality buyers. If AdAmigo.ai detects a 20% drop in ROAS, it can immediately take action. It might pause underperforming audiences, increase bids by 15% for top-performing geographical segments, and even launch AI-generated creatives tailored to the data. The result? A potential 35% ROAS boost within 48 hours.
AdAmigo.ai’s AI Actions feature provides a daily list of optimizations to maximize results. For example, it can automate budget reallocation - shifting spend away from low-performing rules like "ViewContent OR Lead" and toward high-performing ones like "Purchase AND InitiateCheckout", which deliver >3× ROAS. The system doesn’t just tweak isolated elements; it works holistically, optimizing creatives, targeting, bids, and budgets as an interconnected system while respecting your campaign constraints.
Boosting ROAS with AI-Driven Insights
AdAmigo.ai also includes an AI Chat Agent to help you dig deeper into your campaign’s performance. You can ask questions like, "Why is my 'Lead OR Purchase' rule underperforming?" and get actionable feedback, such as: "Rule shows 2.1× ROAS due to high mobile drop-off; recommend bid adjustments and mobile-optimized creatives." From there, you can launch bulk optimizations and review trends directly in the chat interface, cutting down on the need to manually sift through Events Manager.
The platform also integrates value rules into its decision-making. For example, if you assign a $50 value to a "Purchase AND HighValueCart" rule, AdAmigo.ai will prioritize campaigns exceeding your thresholds (like ≥3× ROAS) and adjust bids upward for those high-value triggers. Agencies using AdAmigo.ai have reported impressive results, with one media buyer managing 4–8× more clients and maintaining consistent ≥3× ROAS on combined rules. In one case, an agency scaled ad spend by 30% while achieving 4.2× ROAS, all thanks to the AI’s rule-based bid adjustments.
Conclusion
Using combined custom conversion rules allows you to fine-tune campaign performance with precision. Instead of focusing solely on high-value actions - such as "Purchase AND HighValueCart" or "Lead OR InitiateCheckout" - this strategy helps improve ROAS while minimizing wasted ad spend. However, it all starts with the basics: a properly configured Meta Pixel and Conversions API working together, with standard events accurately tracked. In an era where 84% of iOS users opt out of tracking, server-side CAPI can recover up to 19% more purchase attribution visibility.
Once your tracking system is set up and your rules are in place, the next step is actionable performance management. After launching campaigns, keep a close eye on performance, adjust bids as needed, and scale successful strategies. While manual optimization can be time-consuming, tools like AdAmigo.ai simplify the process by automating performance monitoring, bid adjustments, and creative tweaks - freeing you from spending endless hours in Events Manager.
Scaling campaigns also requires careful planning. A key guideline: limit budget increases to 20–30% at a time to avoid triggering Meta's learning phase reset. AdAmigo.ai adheres to these principles while continuously testing and iterating, enabling agencies to handle 3–5× more clients and helping brands achieve consistent ≥3× ROAS.
Custom rules transform Meta Ads into a highly targeted tool. Whether you're managing campaigns manually or leveraging AI automation, success begins with clean data, strategic testing, and scaling what works. The difference between average and exceptional performance often lies in how effectively you combine and refine these rules over time. Every adjustment should align with your broader goals, ensuring each campaign drives meaningful results.
FAQs
When should I use AND vs OR in a custom conversion rule?
When setting up a custom conversion rule, use AND to track users who meet multiple conditions simultaneously. For example, if you want to track users who visit a specific page and complete a form, both conditions must be true for the rule to apply.
On the other hand, use OR if you want to track users who meet any one of several conditions. For instance, you could track users who either click a button or watch a video. In this case, meeting just one condition triggers the tracking.
The choice between AND and OR depends on whether all conditions must be satisfied or if just one is enough for the conversion to be recorded.
How can I avoid duplicate events when using Pixel and Conversions API together?
To keep your events clean and avoid duplicates, implement event deduplication by matching the event_id parameter across both the Pixel and the Conversions API. For the same user action, make sure to send the identical event_id from both sources. Meta’s system will automatically merge these duplicates, ensuring each conversion is counted only once. Be careful not to send events twice unless they share the same event_id, as this could lead to inflated conversion counts and skewed reporting.
What’s the minimum data volume I need for combined rules and value rules to work well?
For combined rules and value rules to deliver reliable results, aim for at least 500 conversions per rule. This benchmark ensures sufficient data for accurate testing and adjustments, aligning with best practices for A/B testing and improving the performance of conversion rules.