
Meta Ads QA: Bulk Launch Best Practices
QA checklist and best practices for bulk Meta ad launches: asset specs, campaign structure, ABO vs CBO, CSV uploads, previews, and automation.
Launching Meta ad campaigns in bulk can save time but comes with risks like budget mismanagement, tracking errors, or ad rejections. These mistakes can disrupt performance, waste money, and harm your account's health. Here's how to avoid them:
Pre-launch QA: Ensure assets meet Meta's specs (e.g., 1080×1080 for Feeds, 1080×1920 for Stories) and organize them with clear naming conventions.
Campaign structure: Use a three-stage framework - Testing, Challenger ASC, and Core Evergreen Campaigns - to optimize performance.
Budgeting: Decide between ABO and CBO budget strategies (manual control vs. algorithm-driven scaling), and set spend caps to avoid imbalances. Following a budget overspend checklist can further protect your investment.
Bulk uploads and testing: Use Meta's CSV templates and Creative Hash IDs for efficiency, and always launch campaigns in a paused state to catch errors.
Final QA: Validate targeting, budgets, and placements; preview ads across all formats and placements to catch formatting or tracking issues.
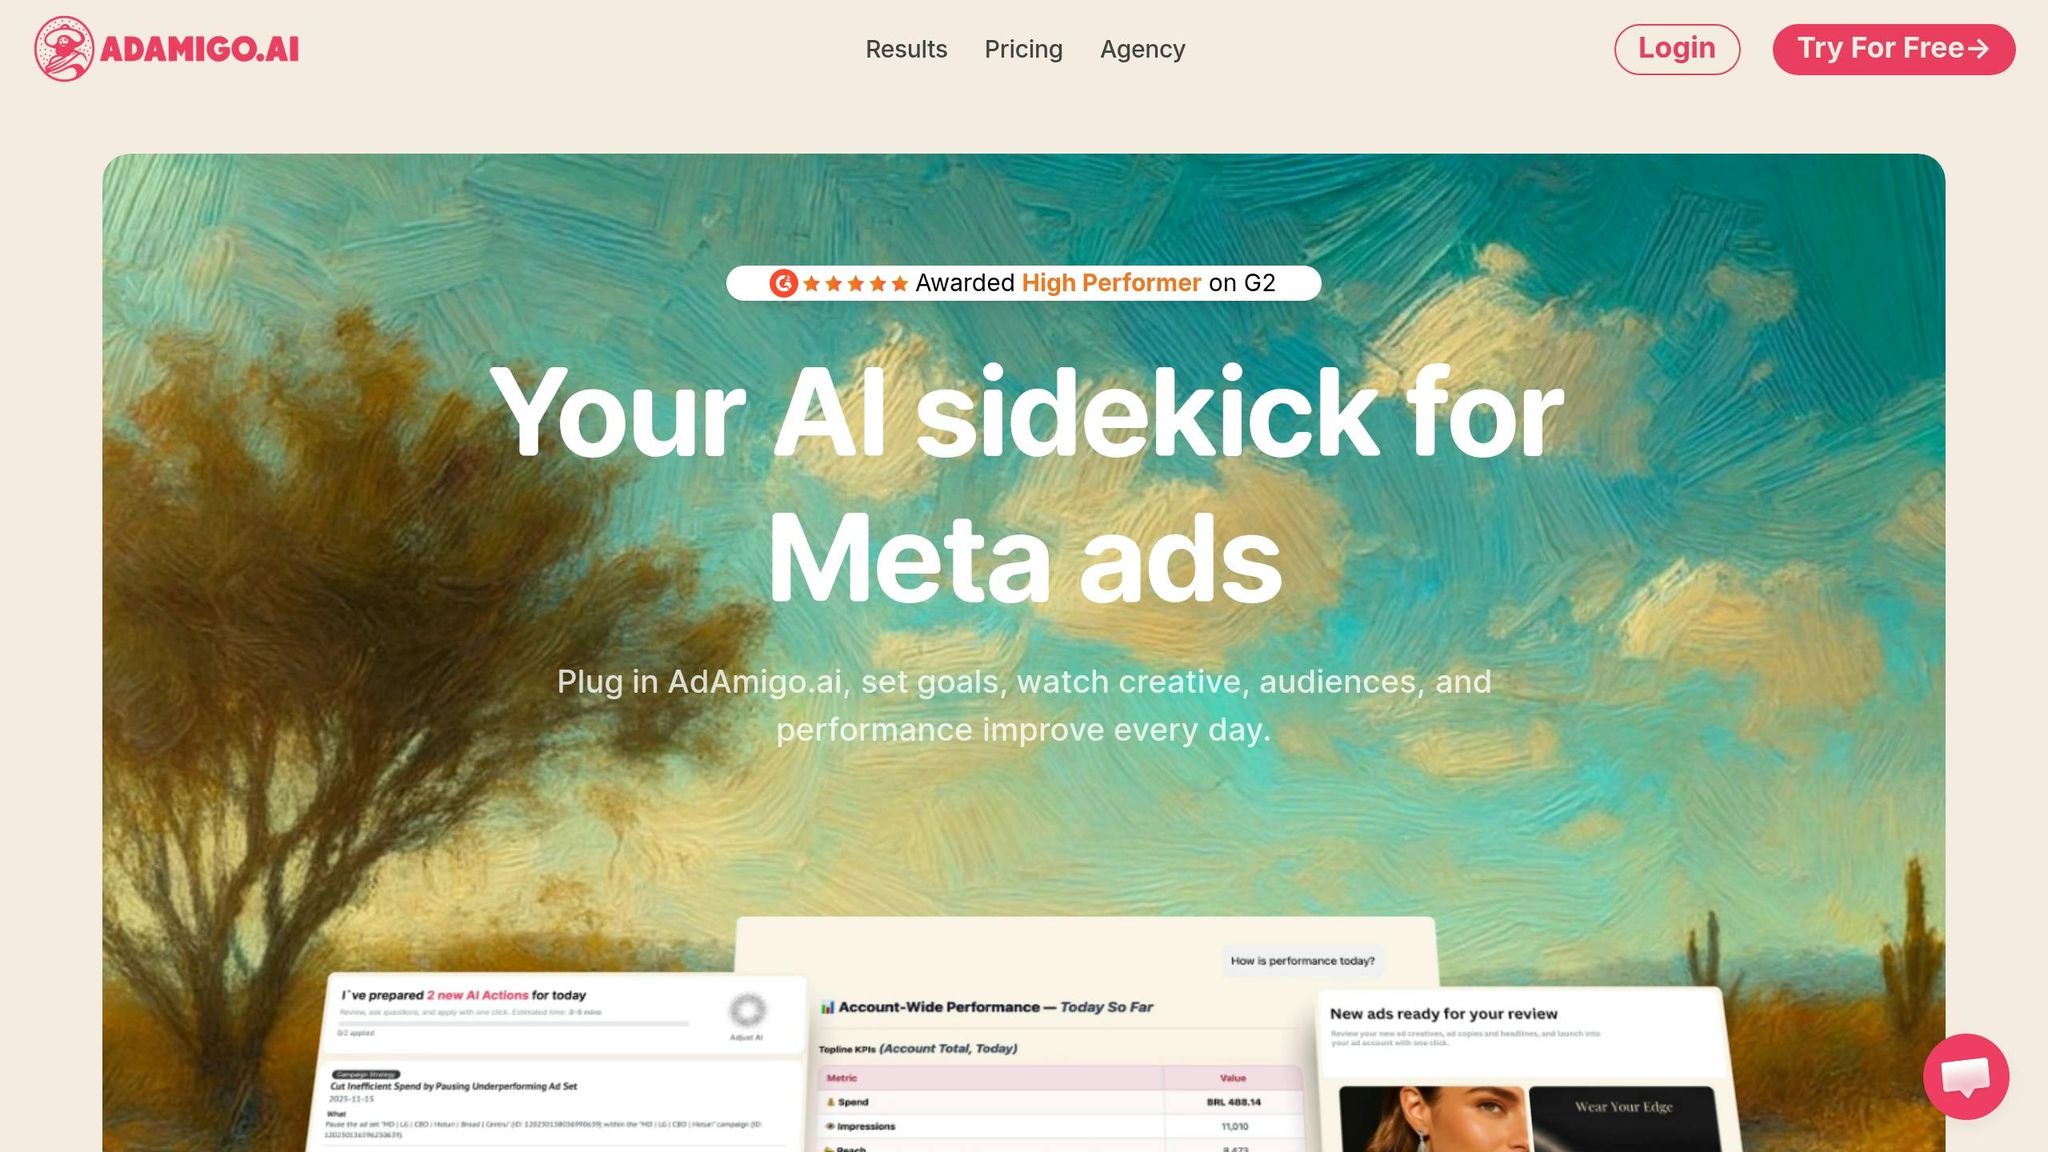
Automation tools like AdAmigo.ai can streamline QA, validate assets, and optimize campaigns post-launch, reducing errors and improving efficiency.
AI Agent Bulk Uploads Meta Ads in Minutes (With Approval)

Pre-Launch Asset Preparation Checklist
Before uploading assets to Meta, make sure every creative meets the platform's technical requirements, or use a creative format converter to automate the process. Images should be 1080×1080 (1:1) or 1080×1350 (4:5) for Feeds, and 1080×1920 (9:16) for Stories and Reels. Stick to JPG or PNG formats, with a file size limit of 30MB. For videos, use MP4 or MOV formats with H.264 compression and AAC audio at 30fps, ensuring the file size doesn't exceed 4GB. While Meta supports videos up to 241 minutes long, keeping them between 15–60 seconds ensures better performance.
Check Creative Specifications
To avoid truncation across placements, keep primary text under 125 characters, headlines under 40 characters, and descriptions between 25–30 characters. For 9:16 vertical formats like Stories and Reels, position important elements - logos, CTAs, or text - within the central 1080×1420 safe zone. Be mindful of UI elements: the top 250 pixels and bottom 250 pixels in Stories often get covered, and the bottom 35% of Reels is obscured.
"The 4:5 vertical format is particularly powerful. Testing has shown that advertisers typically see significantly higher click-through rates using 4:5 vertical images compared to square or horizontal formats."
Chris Pollard, Founder, Ads Uploader
Although Meta no longer enforces the "20% text" rule, ads with less than 20% text overlay tend to deliver better results and lower costs. Use Creative Hub or Ads Manager to preview and catch any rendering issues before launching.
Organize Assets by System
Stay organized by creating a master spreadsheet to track your assets. Include details like file name, type, dimensions, placement notes, and Creative Hash IDs for easy reuse. Adopt clear naming conventions such as ProductName_Format_AspectRatio_Version.jpg - for example, Sneakers_Story_9x16_v2.mp4. This system helps prevent errors when managing large numbers of assets. To streamline further, group files into folders by aspect ratio (1:1, 4:5, 9:16) so you can quickly find what you need for each placement, which is essential when scaling Meta ads with multi-format creatives.
Compress and Optimize Files
Large files can slow down uploads or even cause timeouts. Use tools like TinyPNG to compress images and HandBrake for videos, ensuring quality is preserved. Before uploading, double-check that all files are labeled correctly - just one mislabeled file can derail the process. For existing assets, reference their Creative Hash ID or Video ID in your bulk upload template to ensure Meta's system recognizes them. Once everything is optimized and labeled, you’ll be ready to structure your campaigns using Meta ads schema best practices for clear organization.
Campaign Structure and Naming Conventions

ABO vs CBO Budget Optimization Comparison for Meta Ads
To effectively track performance and scale successful ads, campaigns should be organized with a clear structure. Meta advertising in 2026 operates on a three-stage framework:
Testing Campaigns: These include a single ad set to test multiple concepts.
Challenger ASC (Advantage+ Shopping Campaign): Focus on the top 5–10 variations that didn't scale initially.
Core Evergreen Campaigns: Dedicated to proven performers.
This setup avoids "campaign sprawl" and ensures campaigns hit the 50-event threshold required for Meta's algorithm to optimize properly. Using this structure also helps align your budget strategy with the specific needs of each stage.
Choose Between ABO and CBO
The choice between Ad Set Budget Optimization (ABO) and Campaign Budget Optimization (CBO) depends on your goals.
ABO gives you manual control at the ad set level, making it a great option for testing variables like creative, audience, or messaging. Each ad set gets its full budget, ensuring fairness in testing.
CBO, on the other hand, relies on Meta's algorithm to allocate the budget. It's ideal for scaling proven winners and maximizing results. However, without setting spend caps, new test sets can be underfunded.
Here’s a quick comparison:
Feature | Ad Set Budget Optimization (ABO) | Campaign Budget Optimization (CBO) |
|---|---|---|
Primary Use Case | Testing new variables (creative, audience, copy) | Scaling proven winners and maximizing volume |
Budget Control | Manual control at the ad set level | Automated control at the campaign level |
Testing Fairness | High; ensures every ad set spends its full allocation | Low; algorithm may starve new sets of budget |
Efficiency | Requires more manual monitoring and adjustment | Higher efficiency as the algorithm optimizes spend |
Spend Caps | Equal budgets for all test sets | Minimum and maximum spend caps per ad set |
For ABO, allocate equal budgets to ensure fair testing. With CBO, use minimum and maximum spend caps to maintain some control and prevent budget imbalances.
Design Ad Sets for Single Variable Testing
Ad sets should be structured to test only one variable at a time - whether it’s the audience, creative, or messaging. Testing multiple variables in the same ad set makes it impossible to pinpoint what’s driving performance. For example, test "Cold-Interest-Fitness" against "Cold-Interest-Wellness" separately. Once you identify winning elements, consolidate overlapping tests to strengthen algorithmic signals. Gradually increase budgets by 20–30% every few days to maintain learning phase stability.
Use Clear Naming Conventions
Clear and consistent naming conventions are essential for managing and reporting campaigns. Use descriptive names like "Retargeting-30Day-Visitors" or "Cold-Interest-$50/day" to avoid confusion. For campaigns with time-sensitive tests, include details like objective, audience, budget, and date. A simple format such as [Objective]-[Audience]-[Budget]-[Date] works well, especially when handling dozens or even hundreds of campaigns. Consistent naming ensures smooth quality assurance during bulk launches and keeps reporting organized. One mislabeled campaign can disrupt your entire workflow, so clarity is key.
Setting Up Bulk Uploads for Meta Ads
Bulk uploads can save a lot of time, but they demand accuracy. With well-organized assets and clear campaign structures in place, bulk uploads make launching campaigns much more efficient.
Use Meta's CSV Templates
Meta offers CSV templates to help you batch-create campaigns, ad sets, and ads directly in Ads Manager. To get started, download the template that matches your campaign objective - whether it’s aimed at traffic, conversions, or sales. Fill out the required fields carefully. For example, budgets should always be entered as whole numbers (e.g., 50 instead of $50.00), and dates need to follow the MM/DD/YYYY format to avoid errors. Even one incorrectly formatted cell can cause the entire upload to fail. If you’re handling hundreds of ads, these small errors can quickly become a big headache, so double-check everything before importing.
Reference Creative Hash IDs for Reuse
Uploading the same image or video multiple times is unnecessary. Instead, use creative hash IDs to reference assets you’ve already uploaded. Every time you upload a creative to Meta, it gets assigned a unique hash ID. By reusing these IDs, you not only save time but also reduce the chances of your ads being rejected. Platforms powered by AI-powered creative scaling can take this a step further by iterating on high-performing assets and launching them seamlessly, making it easier to scale campaigns without starting from scratch.
Launch Campaigns in Paused State
Final checks are essential before your ads go live. Always import campaigns in a paused state, giving yourself time to manually review everything before activation. During this review, ensure that critical details - like headlines, primary text, destination URLs, and UTM tags - are correctly assigned across all ad variations. In Ads Manager, check the "Delivery" column for any error notifications or alerts. You can also use the Pixel Helper Chrome extension to test Meta Pixel events and confirm that key actions, such as purchases or sign-ups, are being tracked correctly on your landing pages. Importing campaigns in a paused state also prevents accidental overspending if there’s an error in budget settings, spending caps, or bidding strategies. To further protect your spend, consider setting guardrails to automate budget limits and adjustments. Once everything checks out, you can activate your campaigns with confidence.
QA Checks for Targeting, Budget, and Placements
Once your assets are ready and bulk uploads are set up, it’s time for a final quality check. This step ensures your targeting, budgets, and placements are aligned before launching. Think of this as the bridge between pre-launch prep and active campaign monitoring.
Build and Validate Audiences First
Start by ensuring your audiences are well-segmented and large enough to deliver results. Separate cold audiences - like those based on interests, demographics, or behaviors - from warm audiences, such as multiple lookalike tiers or retargeting pools. Each ad set should meet Meta's conversion threshold during the learning phase. If your brand generates fewer than 5,000 purchase events weekly, consider optimizing for mid-funnel actions like Add to Cart or Product Views to give the algorithm more data to work with.
Before activating your campaigns, double-check that saved audiences have the correct parameters and exclusions. If you’re testing new targeting options, always duplicate ad sets instead of editing live ones. This prevents the learning phase from resetting and helps maintain any momentum you’ve already built.
Set Budgets Based on Goals
Your budget should align with your conversion targets. For instance, if you’re aiming for 100 conversions at $20 each, you’ll need at least $2,000 in spend. Avoid spreading your budget too thin across multiple ad sets; consolidating overlapping audiences helps each campaign hit the event threshold needed for effective learning.
To manage spending, set automated stop-loss rules to pause any ad set that spends $10 without generating a conversion. Meta campaigns typically show an average 19% lift in key metrics like total revenue or new customer acquisition, so realistic budgeting is critical. Once your audiences and budgets are locked in, move on to reviewing ad placements.
Preview Ads Across All Placements
Meta’s ad preview tool is your safety net for catching formatting issues. Use it to review how your ads appear across Feed, Stories, and Reels. Look out for problems like text truncation or visual elements being obscured by user interface components. For vertical formats, confirm that text overlays remain visible.
Don’t forget to check video thumbnails and ensure dynamic UTM parameters are resolving correctly. Even a small error rate - just 1% across 1,000 ads - can lead to 10 ads with broken links or tracking issues. Since most users engage on mobile, previewing ads on smaller screens is crucial to spot overlooked details.
Placement Type | Recommended Aspect Ratio | Optimal Video Length |
|---|---|---|
Facebook/Instagram Feed | 4:5 or 1:1 | 15–30 seconds |
Instagram Stories | 9:16 | 6–15 seconds |
Instagram Reels | 9:16 | 15–30 seconds |
Carousel Ads | 1:1 or 4:5 | N/A |
"76% of customers are more likely to consider a brand when they receive personalized messages."
Tailoring your ads to specific placements isn’t just helpful - it’s essential. These QA checks ensure your campaign’s structure and content are ready to perform at their best.
Using Automation Tools for QA and Bulk Launches
Building on the detailed manual QA steps discussed earlier, automation takes bulk campaign launches to the next level. While manual QA works well for smaller batches, it quickly becomes a bottleneck when managing high volumes. Automation tools streamline repetitive validation tasks, allowing you to focus on strategy and creativity.
Manual Tools vs. AdAmigo.ai
Meta's native bulk creation tools rely heavily on CSV templates and manual formatting. This involves copying asset URLs, matching creatives to placements, and verifying uploads - steps that work for smaller launches but often lead to errors as the scale increases. On the other hand, AdAmigo.ai connects directly to your Google Drive and automates the entire process, from matching aspect ratios to placements to validating tracking parameters before launch.
Aspect | Meta Native Tools | AdAmigo.ai Bulk Features |
|---|---|---|
Speed | Template-based | Minutes from Google Drive upload |
Error Prevention | Paused launch, manual previews | AI validation with real-time monitoring |
Scalability | Hundreds via CSV | Dozens to hundreds with auto-configuration |
Optimization | Basic, rule-based | Learning agent for ongoing QA and optimization |
The key difference lies in error prevention. Meta's tools allow for manual previews and paused launches, but you're still responsible for spotting issues like formatting errors, mismatched placements, and tracking problems. In contrast, AdAmigo.ai automatically identifies and corrects creative aspect ratio mismatches and groups placements accurately - without requiring manual intervention. This automation sets the stage for ongoing improvements.
How AdAmigo.ai Improves Bulk QA
AdAmigo.ai goes beyond manual reviews by delivering continuous, in-depth validation. The platform evaluates your brand identity and competitor data to ensure creative consistency across all ad variations. For example, if you're launching 200 ads, the AI flags inconsistencies early, saving your budget from being wasted on mismatched designs or policy violations. It also checks for pixel misconfigurations before your ads go live.
The platform offers both fully and semi-autonomous modes. In semi-autonomous mode, you can review daily AI-generated recommendations for campaigns, audiences, and budgets before approving changes. Fully automated mode publishes campaigns directly while maintaining detailed compliance logs. As Sherwin S. noted in a G2 review, "The AI actions are spot-on, so I can make adjustments fast and see results right away. It's like having an extra set of super-smart hands helping me hit my KPIs".
AdAmigo.ai doesn’t stop at launch. It continuously optimizes campaign performance by learning from real-time data. The AI reallocates budgets to high-performing ads, pauses underperforming ones, and ensures your campaigns improve over time. This ongoing QA process guarantees that your bulk launches not only go live smoothly but also adapt and perform better based on actual results.
Summary and Key Takeaways
Main Points Recap
Let’s break down the key strategies for executing successful bulk Meta ad launches, based on the practices outlined earlier.
To start, clear asset organization is crucial. Name and group assets by format to avoid mismatches that could waste your budget. Also, preview your ads across all placements - whether it’s Feed, Stories, or Reels - to catch formatting issues before they go live.
When testing, follow a sequential approach. Test audiences first, then creatives, rather than changing multiple variables at once. This way, you can accurately identify what’s driving performance. Additionally, maintain a rejection log from Meta's reviews to refine future submissions and steer clear of repeated policy violations.
Automation tools can be game-changers. Platforms like AdAmigo.ai can handle compliance checks, validate tracking parameters, and even optimize campaigns in real time. Its AI Media Buyer reallocates budgets to high-performing ads and pauses underperformers automatically, saving you time and effort.
Finally, once your ads are live, stay on top of performance. Monitor approvals, track key metrics, and scale successful campaigns immediately while scaling budgets without losing ROAS. Whether managing a handful of campaigns or hundreds, these steps ensure your launches are both efficient and effective.
FAQs
What should I QA before a bulk Meta ads upload?
Before uploading Meta ads in bulk, it's crucial to double-check a few key areas to avoid hiccups:
Ad Policy Compliance: Make sure your ads meet Meta's guidelines. Avoid excessive text, broken links, or anything that could be flagged as inappropriate.
Product Feed Accuracy: Double-check that all product details, like pricing and availability, are up-to-date and correct.
Tracking Setup: Confirm that your pixel is placed correctly and events are configured as needed for accurate tracking.
Audience and Creative Consistency: Review your naming conventions and ensure your creative assets align with your target audience.
Error Detection: Leverage tools like AdAmigo.ai to identify and resolve potential issues before launching your campaigns.
A thorough QA process can save time and ensure your ads run smoothly.
When should I use ABO vs CBO for bulk launches?
To test multiple ad variations fairly, use Ad Set Budget Optimization (ABO). This approach ensures each ad set gets its own allocated budget, allowing you to identify which variations perform the best without interference from uneven budget distribution.
Once you've pinpointed the top-performing ads, transition to Campaign Budget Optimization (CBO). CBO allows you to scale these winning campaigns efficiently by letting the platform distribute the budget dynamically to maximize results.
How do I prevent broken tracking links in hundreds of ads?
Before launching your bulk ad campaigns, it's crucial to double-check your pixel setup and event configurations. These small but essential steps can save you from major tracking headaches down the road.
Another key area to monitor is your product feed. Errors like missing or incorrect data can disrupt your campaigns. Regularly reviewing and correcting these issues ensures everything runs smoothly.
For added efficiency, consider tools like AdAmigo.ai. This platform can automate tasks like error detection, compliance checks, and even bulk ad launches. By catching problems early, you minimize the risk of tracking failures and keep your campaigns performing at their best.
Taking time to ensure accuracy upfront can prevent costly mistakes and keep your ads on track.